|
These jaws are not included in any of our standard accessory sets.  These must be ordered
 separately.

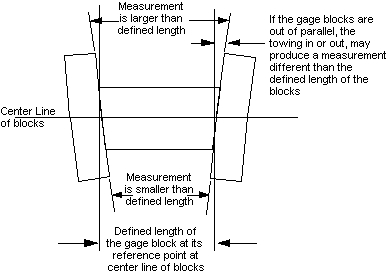
Internal Measuring Machine jaws perform the same function as the straight jaws, but extend
 beyond the gage surfaces in two directions:  to the left and right.  For measurements that must
 have extreme accuracy, this feature allows the user to compensate for any parallelism error  of
 the gage blocks.
|
|
|
|
From the above diagram, the source of the possible error can be seen.  With the internal
 measuring machine jaws, measurements can be taken on both sides and averaged together.
 The average of the two readings will be equal to the defined length of the gage blocks.

As with straight jaws, the specified tolerances are ±24µin. or ±0.60µm.    The important
 tolerance is the flatness of the jaw so that its surface may be extended beyond the gage
 blocks with equal precision.

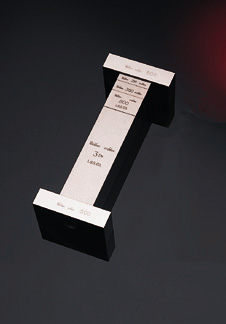
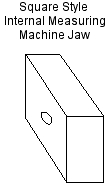
 Designed to use with square style gage blocks, Internal Measuring Machine Jaws are made
 from hardened steel material.  The jaws are 1-inch wide by 2-inches long with tightly controlled
 thickness of .500" or 12.0mm.  Webber manufacturing tolerances are ±10µin.or ±0.25µm for size
 (thickness), and 5µin. (0.13µm) for flatness and parallelism.
 For B89.1.9 specifications, click here.

In addition, the sides of these jaws are made slightly bigger than square gage blocks.  The
 sides are finished and held square to the gaging surfaces within ±30 arc seconds.   When this
 combination of jaws and gage blocks are set on a surface plate, the finished sides keep the
 center line of the gage blocks parallel with the surface plate.  Also, because the sides are
 slightly larger than the gage blocks between, the combination only rests on the true surfaces of
 the jaws to prevent any possibility of the combination rocking on the surface plate.  All these
 additional features allow for greater control and more precise measurements.
|
|
|


